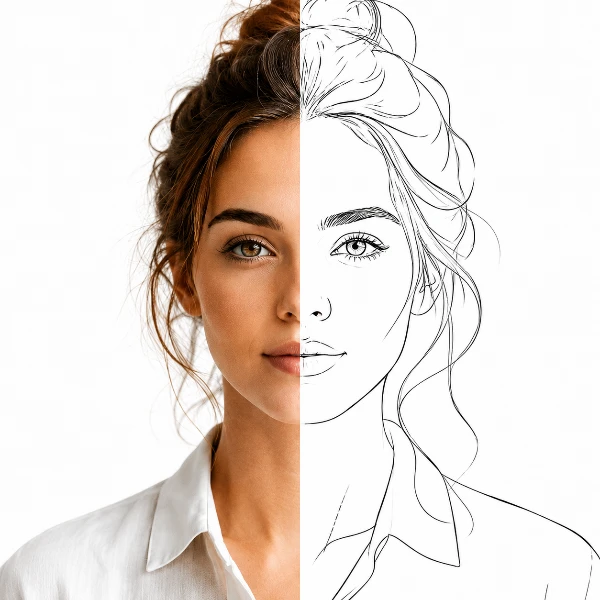
How to Turn a Photo into a Pixel Chart or Block Art
A pixel mosaic is just a photo reduced to a grid of solid colour blocks — but that simple idea drives two very different jobs. Crafters need a numbered chart they can print and follow square by square to stitch, bead, or build a perler pattern. Pixel and game artists need a clean, blocky PNG with a tight palette and crisp edges. PixelForge does both from the same image, with accurate algorithmic pixelation and colour reduction — no AI, no uploads. This guide walks through the whole workflow.
Why Turn a Photo into Pixels
Reducing a photo to a grid of coloured squares is the starting point for a surprising number of hobbies and projects. Cross-stitch, hama and perler beads, diamond painting, and Lego-style mosaics all work from a chart: a grid where each cell is one colour with a number telling you which thread or bead to use. Getting from a photo to that chart by hand is tedious and error-prone, and most desktop editors do not produce a printable, numbered pattern at all.
On the digital side, pixel art and game sprites are deliberately low-resolution with a limited palette. Down-sampling a reference photo into clean blocks gives you a base to trace or paint over, an avatar, a tile, or a retro-styled graphic. The same engine that builds a stitch chart also produces that block art — the only difference is how you export it.
How PixelForge Builds the Mosaic
PixelForge works in two stages. First it pixelates: the image is divided into a grid whose width you choose in blocks, and each cell is collapsed to a single colour. You decide how that colour is found — Average blends every pixel in the cell for a smooth result that suits photographs, while Median picks the representative value for crisper edges and flatter areas, which reads better as deliberate pixel art.
Second it reduces colours with median-cut quantization. Instead of leaving thousands of near-identical tones, the algorithm repeatedly splits colour space along its longest axis at the median, so the densest regions are subdivided most and the final palette genuinely represents the image. This matters for crafts, where every colour is a physical thread or bead you have to buy, and for pixel art, where a tight palette is the whole aesthetic. The process is deterministic — the same photo at the same settings always gives the same result.
Step-by-Step: From Photo to Chart
- Load a photo — drop a file onto the page, click to choose one, or paste from the clipboard. Nothing is uploaded; the image is processed locally.
- Pick an output mode — Design chart for a numbered, printable pattern, or Retro block for a game-style PNG. The chart is the default.
- Set the pixel resolution — choose how many blocks wide the mosaic is. The vertical count follows the photo's proportions automatically. Fewer blocks read bolder; more blocks keep detail but cost more stitches.
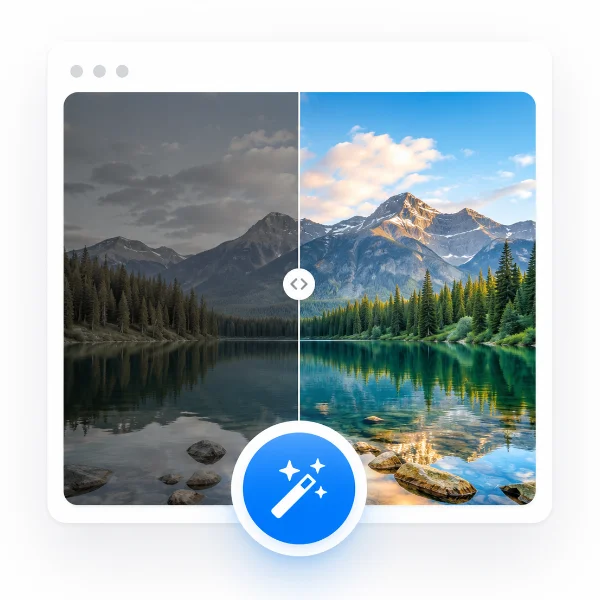
- Tune the colour — choose Average or Median sampling, set the colour count, and optionally add dithering. Use the before/after comparison to weigh detail against simplicity on your own image.
- Export — download a tiled A4 chart PDF with a colour legend, a flat chart PNG, or, in block mode, the retro block PNG.
Two Modes: Design Chart vs Retro Block
Design chart mode is built for making something by hand. It overlays grid lines, prints a number in every cell so you always know which colour goes where, and bolds every tenth line so you can count rows at a glance. A colour legend lists each palette entry with its number, and you set the printed cell size in millimetres so the finished piece comes out the physical size you want.
Retro block mode strips all of that away and gives you the pixels themselves — a clean PNG of solid colour blocks, ready to drop into a sprite editor, use as an avatar, or post as deliberately blocky art. Both modes share the same pixelation and palette, so you can dial in the look in chart mode and switch to block mode for a quick digital export, or vice versa.
Colour Sampling and Dithering
Two controls decide how the mosaic feels. Block colour sets how each cell is reduced: Average is smooth and forgiving, the right choice for portraits and photographs, while Median keeps edges sharp and areas flat, which suits logos, icons, and intentional pixel art. There is no universally correct option — the live comparison lets you judge it on the actual image.
Dithering controls what happens to gradients once colours are cut. None gives flat, solid fills, which is usually what you want for a chart you have to read and stitch. Floyd–Steinberg diffuses the rounding error into neighbouring cells for the smoothest gradients, useful in block art and photos. Ordered (Bayer 4×4) lays down a regular halftone grain — the classic retro texture. For a printable craft chart, None almost always wins; for digital block art, experiment.
Printing a Tiled A4 Chart
A real stitch or bead pattern is too big to fit on one sheet, so the chart PDF tiles automatically across multiple A4 pages at the cell size you set, in portrait or landscape. Each page carries overlap margins and registration marks so you can line the sheets up and tape them into one large chart without losing a single row.
Because grid lines, cell numbers, and the every-tenth guide lines are printed into the PDF, you can work straight from paper — counting squares, ticking off colours from the legend, and tracking your place as you go. If you only need a digital reference, the flat chart PNG gives you the same numbered grid as a single image.
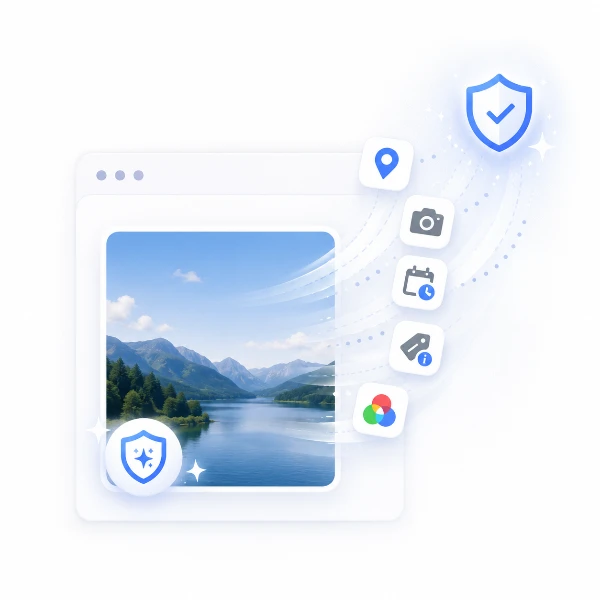
Your Photo Never Leaves Your Device
PixelForge runs entirely in your browser using the Canvas API. The photo is decoded into memory, pixelated, quantized, and rendered locally — no file is ever transmitted to a server. That makes it safe for personal photos, family portraits, and client work, where uploading to a third-party service is not something you want to do.
There is no account, no login, and no usage limit. Everything runs from the page you already loaded, and when you close or reload the tab, every trace is gone. The tool is stateless by design — there is no server to send your data to.
Make Your Pixel Chart Now
Turning a photo into pixels gives you a printable, numbered pattern to stitch or bead, or a clean block PNG for pixel art — in seconds, without counting squares by hand. PixelForge handles the whole workflow in your browser: load the photo, pick a mode, set the resolution and colours, and export. No account, no upload, no waiting.
Try PixelForge now →