How to Read a Cross-Stitch Chart: Symbols, Grid & Fabric Count
A cross-stitch chart looks like a grid full of colored symbols, and to a first-time stitcher it can be baffling: which square goes where, what the symbols stand for, and where on earth you start. Once you know the few conventions every chart shares, it becomes a clear map you can follow square by square. This guide explains how the grid works, what the symbols and stitch types mean, how fabric count decides your finished size, and how to begin from the center.
What a Cross-Stitch Chart Is
A chart is a gridded plan of a design where each square represents one cross stitch on the fabric. The square carries a color, a symbol, or both, telling you which thread to use there. You are not reading a picture to copy freehand — you are following a one-square-to-one-stitch map, working across rows and counting as you go. Because each cell maps to exactly one stitch, the chart's grid and your fabric's grid line up perfectly, which is what keeps a complex design accurate.
Reading the Grid
Every chart shares a small set of conventions. Learn these and you can read almost any pattern, whether it is printed in color blocks or black-and-white symbols.
| Element | On the chart | What it means |
|---|---|---|
| Grid square | One small square | One full cross stitch |
| Colored symbol | A color and/or symbol in a cell | Which thread color to use there |
| Bold lines | Heavier line every 10 squares | Counting guide (10×10 blocks) |
| Center arrows | Arrows on the edges | Center of the design — start here |
| Backstitch | Solid straight or diagonal line | Outline stitched over the top |
| Fraction | Triangle or part-filled cell | Half or quarter stitch |
| Dot | A dot symbol | French knot or bead |
The Stitch Types
Most of a chart is full cross stitches — two diagonal stitches forming an X in one square. Beyond that, a few extras shape the detail. Half stitches are a single diagonal, used for shading and smoother edges. Quarter and three-quarter stitches fill part of a square to soften curves. Backstitch is a thin outline worked on top once the crosses are done, defining edges and lettering. French knots add raised dots — eyes, flowers, texture. A chart's key tells you which symbol means which, so the first thing to do with any new pattern is read its key.
Fabric Count and Finished Size
The same chart can finish at very different sizes depending on the fabric. Count is the number of stitches per inch the fabric gives you: 14-count Aida means 14 stitches per inch, so a higher count produces smaller stitches and a smaller piece. The formula is simple — finished size = design stitch count ÷ fabric count — and this table shows how wide a 100-stitch-wide design comes out on common fabrics.
| Fabric | Stitches per inch | 100-stitch width (in) |
|---|---|---|
| Aida 11-count | 11 | 9.1 |
| Aida 14-count | 14 | 7.1 |
| Aida 16-count | 16 | 6.3 |
| Aida 18-count | 18 | 5.6 |
| Evenweave 28 (over 2) | 14 | 7.1 |
| Linen 32 (over 2) | 16 | 6.3 |
Starting from the Center
Almost every project begins at the center, not a corner. Find the middle of the chart using the arrows on its edges, then find the middle of your fabric by folding it in half and in half again — the crease point is your starting stitch. Working outward from the center keeps the design balanced on the fabric and means a small miscount early on does not push the whole piece off the edge. Stitch one block of ten at a time, checking against the bold guide lines as you go.
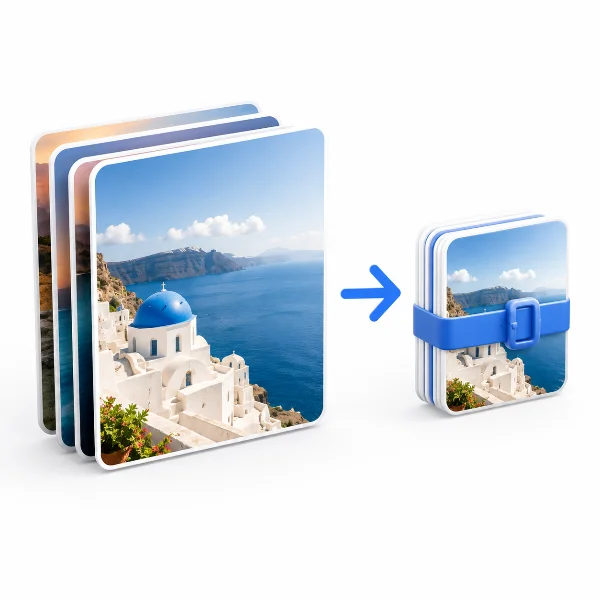
Making a Chart from Your Own Image
Once charts make sense to read, you may want to create your own from a photo or drawing. The process mirrors everything above: the image is reduced to a grid where each cell becomes one stitch, the colors are cut down to a small thread palette, and a number or symbol is printed in every cell with bold guide lines every ten squares — exactly the chart you now know how to read, generated from your picture instead of bought as a kit.
FAQ
What do the bold lines on a chart mean?
The heavier lines every tenth square are counting guides. They divide the chart into blocks of 10×10 stitches so you can count your position quickly and check it against the fabric, instead of counting single squares across a large design.
Where should I start stitching a chart?
Start from the center. Charts mark the center with arrows on the edges, and you find the center of your fabric by folding it in quarters. Starting in the middle keeps the design centered and stops small counting errors from pushing it off the fabric.
What does fabric count mean?
Count is the number of stitches per inch the fabric allows. A 14-count Aida gives 14 stitches per inch, so a higher count makes smaller stitches and a smaller finished piece from the same chart. Finished size equals the stitch count of the design divided by the fabric count.
Turn a photo into a chart you can read
Reading a chart and making one are two sides of the same grid. PixelForge turns any photo into a numbered cross-stitch chart in your browser — reduced colors, a stitch-per-cell grid, and bold guide lines every ten squares — ready to print on tiled A4 and stitch the way this guide describes.
Make a cross-stitch chart with PixelForge →