How to Sharpen and Enhance Photos in Your Browser
Many photos that look acceptable at a glance are actually softer and flatter than they could be. Camera lenses introduce a small amount of blur. JPEG compression softens fine detail. Low-light conditions produce noise that obscures texture. Tracelyx Enhance addresses these issues with three targeted controls — sharpness, clarity, and noise reduction — that you can adjust in real time with a before/after preview.
Sharpness, Clarity, and Noise Reduction Explained
Sharpness increases edge contrast — the difference between adjacent pixels at boundaries in the image. High sharpness makes text and fine lines pop. Clarity is a broader adjustment that adds structure to midtones without the halo artifacts that come from aggressive sharpness. Think of it as making the image look more three-dimensional and less flat.
Noise reduction blurs pixel-level variation caused by camera sensor noise and ISO amplification. It trades fine texture for smoothness — useful for night photos and indoor shots taken at high ISO. Use it conservatively: too much noise reduction removes the texture that makes an image look natural and sharp.
Common Enhancement Workflows
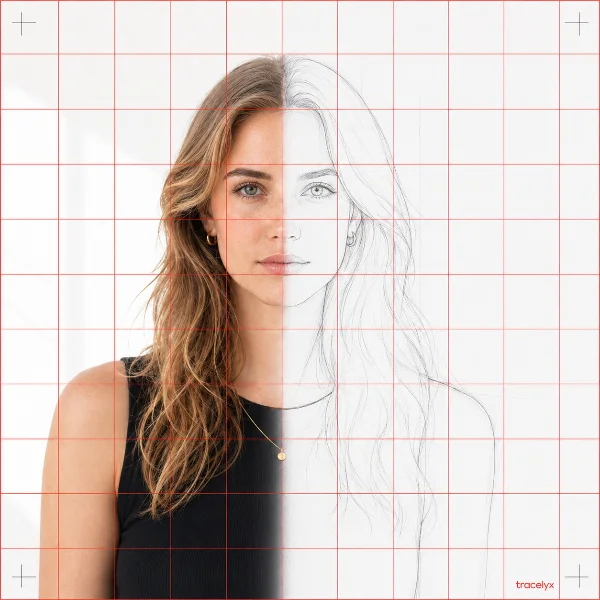
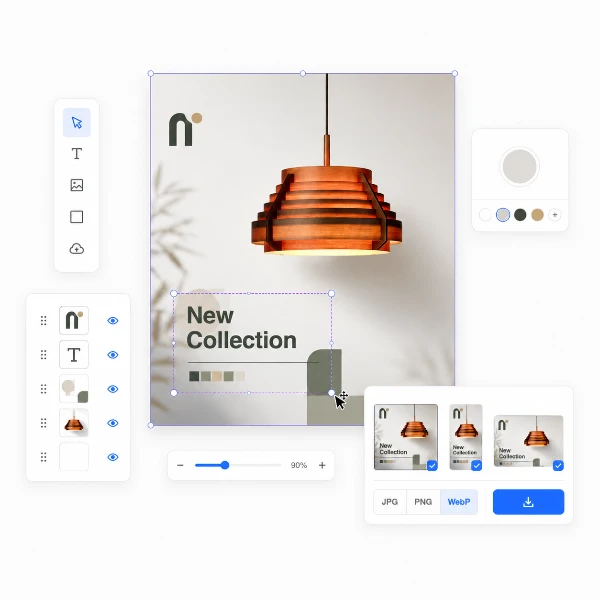
For product photos: moderate sharpness (40–60%), low clarity (20–30%), minimal noise reduction. You want clean edges and visible texture without the image looking over-processed. For portraits: low sharpness (20–35%), low clarity (15–25%), moderate noise reduction (30–40%). The goal is smooth skin with natural-looking eyes and hair — not a plastic-smooth result.
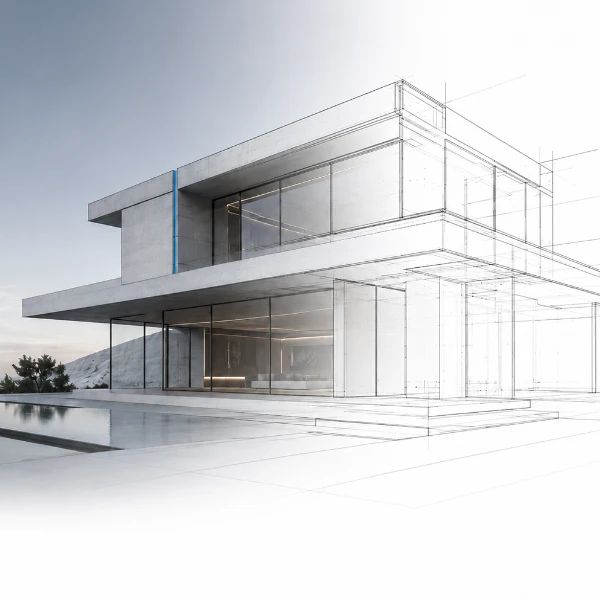
For landscape and architecture: high clarity (50–70%), moderate sharpness (40–55%), low noise reduction. These subjects benefit from the three-dimensional structure that clarity adds. For low-light photos: noise reduction first (50–70%), then moderate sharpness (30–40%) to restore edge definition after smoothing.
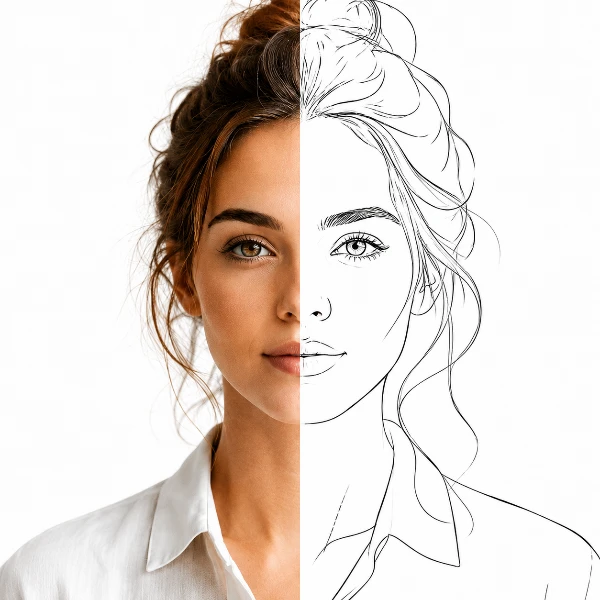
Using the Before/After Preview
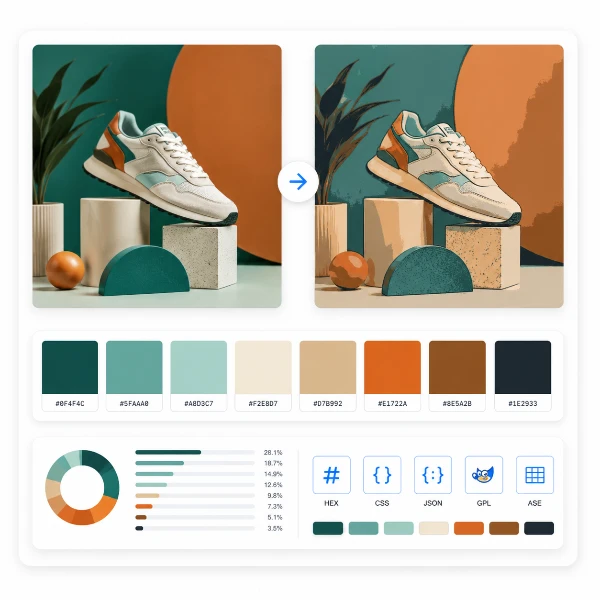
The before/after slider lets you compare the original and enhanced versions side by side. Drag the divider left to show more of the enhanced version, or right to show more of the original. This comparison is the most useful tool for judging whether your settings are an improvement — it is easy to overprocess without a direct reference to the original.
If the enhanced version looks different but not better, reduce the slider values and use the preview to find a level where the improvement is clear but the image still looks natural. Enhancement should be invisible — if you can easily tell the photo has been processed, it has been over-processed.
Start Enhancing Your Photos
Tracelyx Enhance is free, requires no account, and processes your image entirely in your browser. Drop a photo, adjust the sliders, and download when the result looks right.
Try Tracelyx Enhance now →